How I Turned My Old Smart Phone Into a DAP
In 2025, for reasons both personal and political, I began the process of disentangling my listening habits from Spotify. Initially, I did a lot of research on the various DAPs (Digital Audio Players) currently on the market, but I wound up feeling overwhelmed by the options and prices. That's when it struck me: I already had a device that I knew could play music - my old Motorola smart phone that I had to replace last year. It was functional for everything except texting and calling, so I decided to customize it into my very own DAP. The following is less a how-to guide and more an overview of my journey and some of the tools and resources I used. I hesitate to attempt any sort of "tutorial" because I think it could be entirely different depending on the device someone wants to use. But hopefully some of this may be helpful or inspiring for others' journeys away from Spotify and toward more intentional & personalized listening (not to mention recycling old hardware!)
Part 1: Out With the Old, In With the New
- I started by deleting as many apps as I possibly could from within the phone, but, as with most smart phones, there was all sorts of random pre-installed bullshit that I "couldn't" uninstall... at least, not without jumping through some hoops.
- I discovered that you can delete practically any app from an Android device through ADB (Android Debug Bridge) on a PC. I followed the steps listed here and got rid of so much. I did this both to streamline the phone for exclusively musical uses and free up space for the song files themselves. I referenced lists such as this one to make sure I didn't accidentally delete something absolutely necessary. There were a few things, like the Call app, that I still couldn't get rid of, but for the most part I emptied the phone of all unneeded apps.
- I knew I had a lot of music I wanted to download and that I want most, if not all of them, as FLACs, so I decided to invest in a MicroSD card with over 500GB of storage space to install into my phone and act as the main storage area for music.
- Instead of using the usual Google Files, I installed Cx File Explorer. I find it works well for visualizing how much storage I'm using both on the phone and on the MicroSD card.
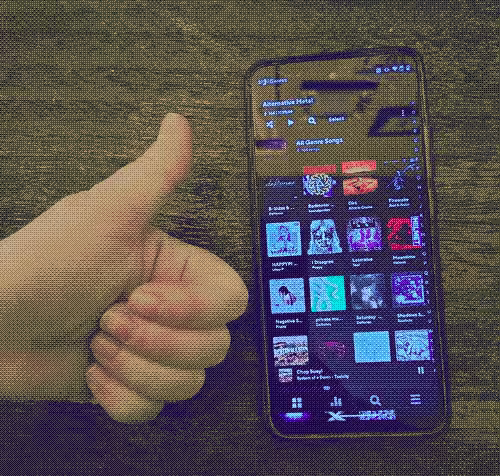
- For actually listening to the music, I got the app Poweramp for a one-time purchase of $10. I think it's pretty neat (I like messing around with the EQ settings). I looked into some free options but none of them fit the bill for what I was looking for in my listening experience; however, your mileage may vary based on your preferences.
Part 2: Gathering the Hoarde
Here are the main ways I procure my music:
- By ripping my collection of CDs! I luckily already owned a lot of my favorite albums on CD, so I rip them using a free app called Asunder (by far the best audio ripping software available for Linux). I also borrow CDs from my local libraries.
- I set aside the money I would be spending on monthly payments to Spotify and instead use it to get my favorite indie artists' music directly from them on BandCamp. This way, I can own my favorite music and support the artists directly.
- One could also download songs from YouTube using the command line program yt-dlp, if they felt so inclined. If one were to do so, one may want to use a VPN of some sort. All theoretical, of course.
Part 3: Tagging the Tunes
Something I've really enjoyed about this process is how closely I can micro-manage my collection through tagging. This way, I can ensure the accuracy of the titles, track numbers, release years, album titles, featured artists, genre labels, etc. (Especially genre labels!)
- I use the program Kid3 (or Kid3-qt, to be specific) to tag my music files and add album covers to them. I tried almost all of the tagging software available for Linux, and this one is by far the best in my opinion. I recommend setting up keyboard shortcuts in the program to streamline the process.
- I often consult rateyourmusic.com (RYM) for information about albums, especially genres. I was always dissatisfied with how Spotify classified genre, and the crowdsourced method for determing genre on RYM feels way more accurate and helpful to me. Now, instead of having to painstakingly create genre playlists, I can just make sure to tag everything and then my music gets auto-sorted into genre categories on Poweramp... hallelujah!
Part 4: From Point A to Point B
- OK, so I had my phone set up and ready, I had my music... but how to get the music onto the phone?
- I tried what seemed the most intuitive first: plugging my phone directly into my computer, copying all of the music files, and pasting them into the phone's storage. This technically worked, but simply copying the high volume of files - much less pasting them - took forever and the process crashed a couple of times. I needed an alternative.
- That's where SyncThing comes in. I found this extremely specific, yet perfectly fitting, tutorial for connecting a Linux PC to an Android phone with SyncThing. The only thing I had to do differently was install "SyncThing-Fork" since the original "SyncThing" app is no longer supported on Android devices. Now, I have a "sync" folder on my laptop, another on the microSD of my phone, and when I run SyncThing, I can transfer files from one to the other over ~the cloud~. After getting the hang of how to use this set-up, it's way more efficient than what I initially tried to do!
- Once the music is all on my phone, I can just scan my files with Poweramp and it populates with all of the song files. And voila, it's time to listen!